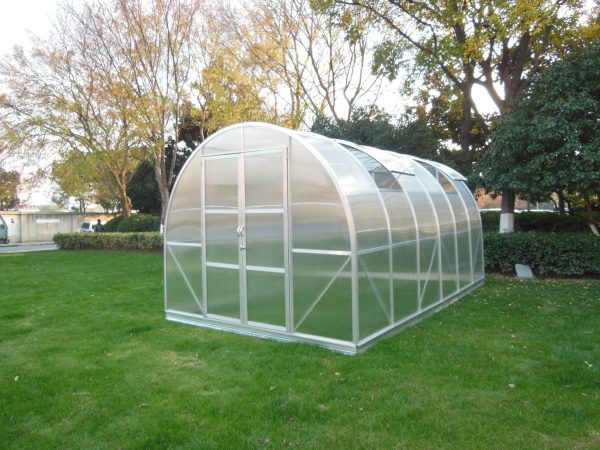
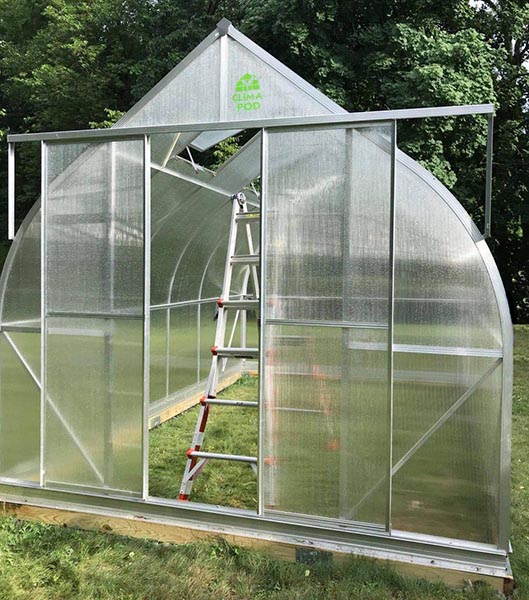
So, you ordered a greenhouse. Let’s say it will be delivered to you in a couple of weeks. What useful things can you do during this time and how can you prepare for the assembling your greenhouse? Here are our recommendations for those who do not want to waste the time.
What to do after you have ordered your greenhouse
Prepare the tools for greenhouse assembling
Make sure you have the necessary tools and materials to install your greenhouse. This includes the usual tools found in every garage: wrenches or a set of box sockets, a Phillips screwdriver, a building level, a polycarbonate cutter, and pliers. A wrench will significantly speed up the work, as well as masking adhesive tape.
Tools required:
- 10mm nut driver;
- 10mm open-end wrench;
- Phillips head and flat head screwdriver;
- Level;
- Ladder;
- Needle nose pliers.
Misc. Items required:
- WD-40 lubricant
- Silicone Caulking Sealant Henry 212 All Purpose Crystal Clear Sealant (recommended)
- Sawhorses
Choose a place for your greenhouse
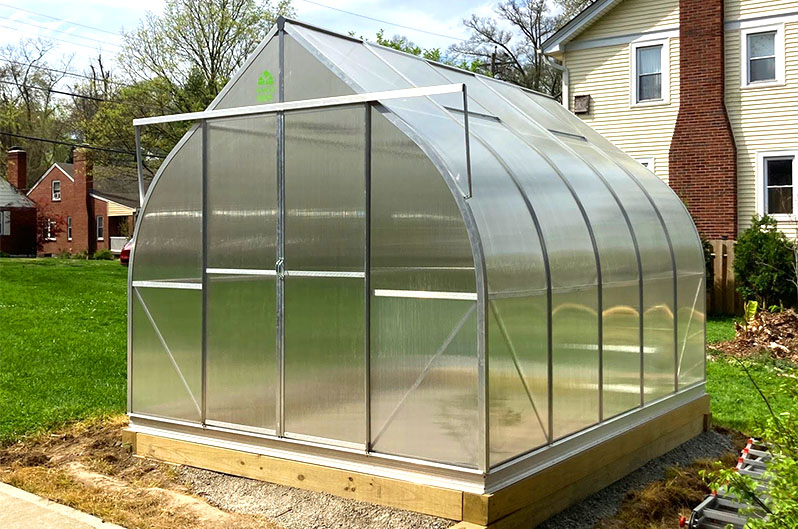
Measure the area where you plan to install the greenhouse and make sure there is enough space for the greenhouse. Your greenhouse should be illuminated by sunlight throughout the day.
Do not forget that there should be enough space around the greenhouse. This is necessary so that a shadow does not fall on the greenhouse, as well as for the convenience of carrying out various works. At the end of the season, you will need to clean the greenhouse, and in winter, you may need to remove too thick a layer of snow from the roof.
Prepare the surface
Prepare the ground by leveling it and removing any debris or rocks. The base has to be 100% level and square.
In order to assemble a greenhouse, you will need a lot of free space. Ideally, if you build a semblance of a large table using goats and a large, even sheet of plywood or board. To work with polycarbonate, it is desirable to have a clean, flat surface. For the greenhouse to have maximum strength, you need to place the base on a flat surface. It is better to choose the type of base in accordance with the size of your greenhouse: timber or foundation.
Don’t forget extra accessories before assembling your greenhouse
Purchase any additional items you may need such as hoses, irrigation systems, heating system, etc.. Buy Accessories for ClimaPod Greenhouses
Learn how to care
Learn about proper greenhouse maintenance and care so you are prepared for any problems that may arise.
The success of your cultivation of vegetables or other plants will depend on the correct seasonal care of the greenhouse, on the correct disinfection, as well as the right soil. For all these actions, you will need free space next to the greenhouse and additional tools. Perhaps at this stage you will want to make some adjustments to the layout of the site or add some accessories for the future greenhouse. Great, you still have time to change!
Check out the assembly instructions
Read all instructions that came with your greenhouse and familiarize yourself with the installation process.
You can download our instructions here. We are constantly working to improve them. Now, for your convenience, there are QR-codes in the instructions, by which you can open the video help. And if you have any questions, you can contact our support team by phone.
Assembling greenhouse on Youtube
If you are planning to install a greenhouse yourself, check out the online tutorials to get an idea of the process.
ClimaPod greenhouse kits can be assembled by yourself in a few days. It will be more convenient if 1-2 people help you. In this case, you can handle it in 2-3 days. In fact, this time depends on your skills and the size of your kit. Large greenhouses require more time.
In order for the assembly process to proceed correctly and quickly, you will need simple tools, the ability to use them and an understanding of what you must do at each stage. Therefore, while your greenhouse is still moving towards you, you can already begin to study the construction process. To do this, the site has instructions for assembling each model. Even more useful for you will be our short videos on YouTube channel, where we show step by step the whole process. Even if you just watch all the videos, then it will be easier for you to understand which part of the kit you see in front of you and what you need to do with it. Don’t let the sheer amount of detail scare you. Just follow the instructions step by step, compare your actions with the video. By the way, there you can find some useful tips and tricks.
The final
Well, now we are sure you are ready to assembling your greenhouse! It’s time to take care of what and how you will grow in it. Prepare fertile soil, seeds, seedlings, fertilizers and all those other pleasant chores that we love so much in gardening!

