The first thing that affects fruiting is sunlight. If the beds in the greenhouse are not lit enough, the ovary will form poorly, the stems will stretch out in search of the sun, and the leaves will become pale in color. To avoid this, start thinking about the location, arrangement, and how to do this before installing the greenhouse.
The correct arrangement of greenhouse beds on the cardinal points
Ideal location – west-east. The sun begins to illuminate it from dawn and until sunset does not leave the structure. True, not every owner will be able to put a greenhouse in this way for lack of space. In this case, arrange them so that they are lit as much as possible until noon, because delicate sprouts are most afraid of cold morning temperatures. The option, when the sun illuminates the plantings only after dinner, will significantly reduce productivity. During the night, the cooled room will not be able to warm up before dinner, and the midday heat will inflict severe burns on the sprouts that have cooled overnight.
Arrangement of plantings in greenhouses of various shapes
Ideally, when the shape of the greenhouse is selected for the plants that they plan to grow. But how to arrange a landing if the structure is already on the site or purchased? In this case, the layout is carried out based on the area of the internal space.
 If you do not plan to use a garden car, the passages can be quite narrow
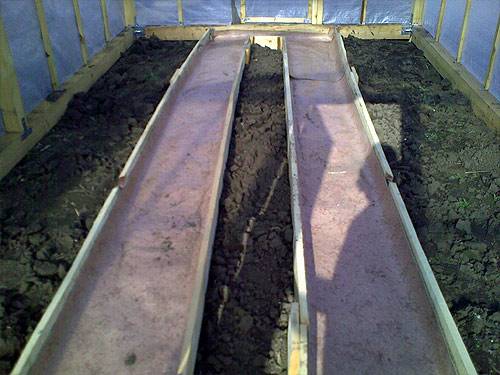
The location of the beds in the greenhouse is narrow but long is limited by the lack of width. The best option would be two side ridges with a central aisle. The width is chosen so that you can take care of the plants, standing in the aisle. The standard option is 2*95 cm + a half meter track.
If the width for these parameters is not enough, you will have to choose what to sacrifice: the size of the beds or passage. A garden car will not pass along a track less than 50 cm, with two buckets it will be difficult to squeeze through.
In this example, the width of the middle bed was reduced to increase the width of the passages
You can reduce the size of the stripes. By the way, narrow ridges of plants are more fond of: the illumination is higher in them, the air passes better. Therefore, boldly cut the width to 45 cm. The absence of the third row of seedlings is compensated by the first two, giving a high yield.
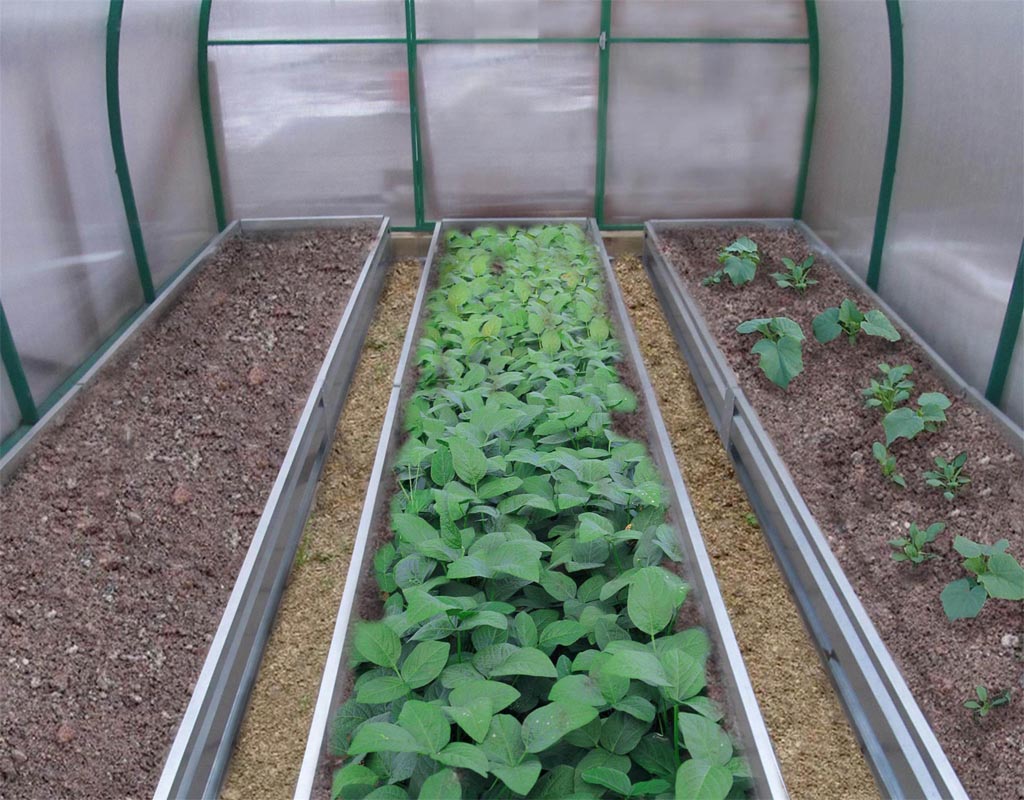
In wide greenhouses, the most common layout is 3 + 2: 3 beds + 2 passes. The central one can be twice as wide as the lateral ones (but not more than 1.5 m), because there is access to plants from both sides. Passages are often made the same (50-70 cm), but you can save usable area by making one lane for a ride with a wheelbarrow, and on the second walk without garden equipment.
Beds layout options for greenhouses of various shapes
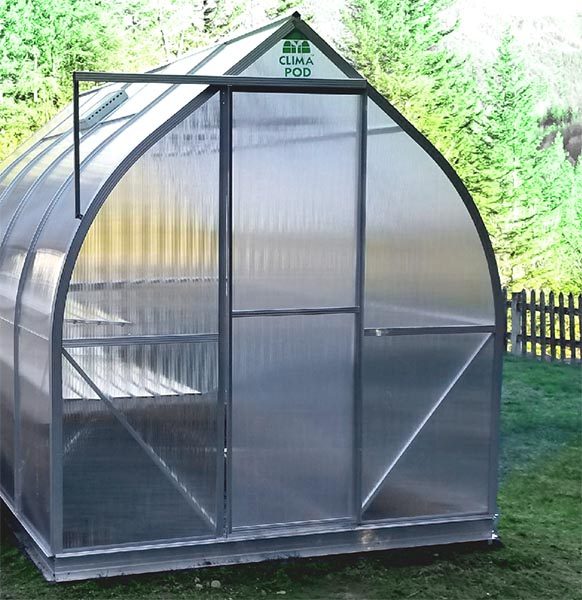
Gable Greenhouse
Here, the height often prevails over other parameters, therefore, they recommend growing seedlings of trees. At the same time, the layout of the rows is as follows: in the center is wide, from the sides – narrow aisles. Placing seedlings in the center helps to avoid contact with the walls or the beginning of the roof, to ensure an even flow of warm air.

The most convenient layout option: split into two with a passage in the middle
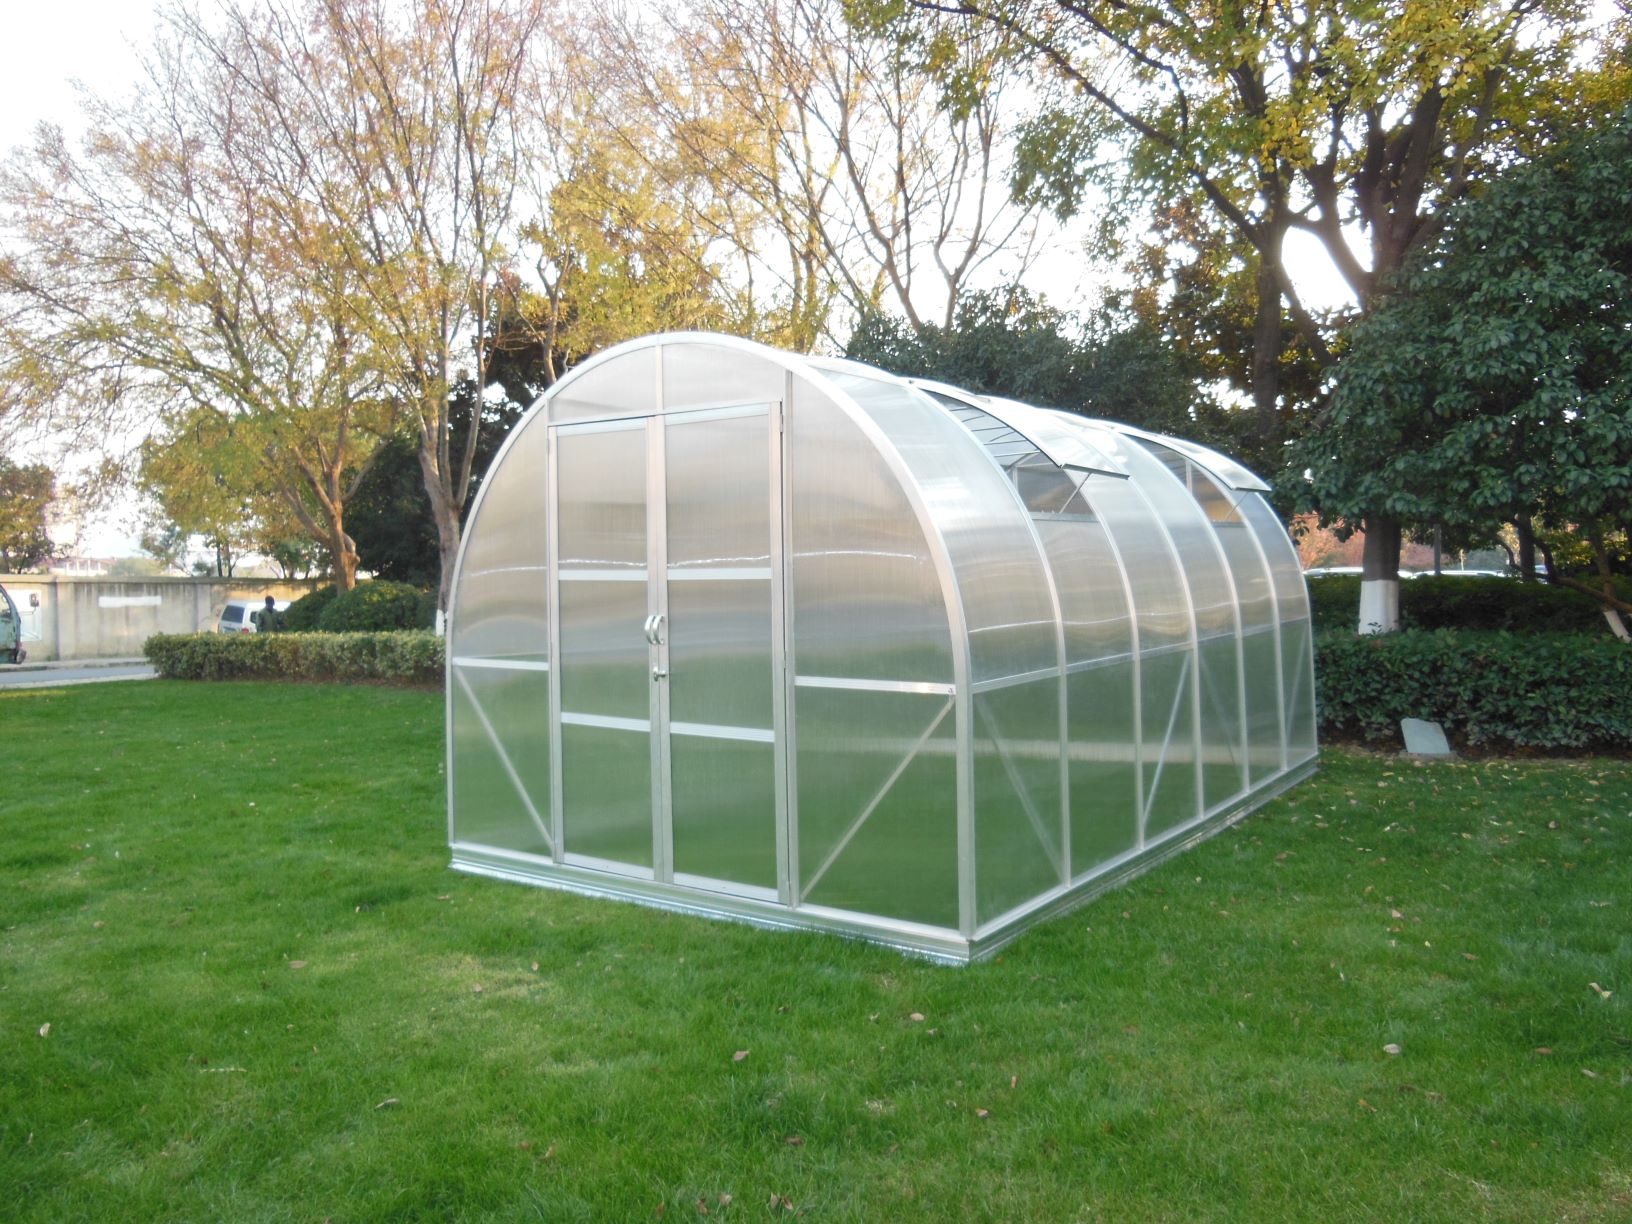
Arched greenhouse
In such forms there is no significant height, but the inner space warms up faster. It is recommended to grow vegetables, flowers. They are divided into two side with a central aisle or the above 3 + 2 layout.
Geodesic dome
In it, the main wide strip runs along the walls of the dome. She is assigned 1-1.2 m of space. From it to the center have a passage. In geodetic greenhouses it is wide (1.5 m), bordered by strong high sides, where you can sit down to relax from the greenhouse work. If space allows, after the passage make another bed, about a meter wide, after it – a narrow passage, and in the center – a round tank filled with water for watering and warming the air at night, or a raised bed.
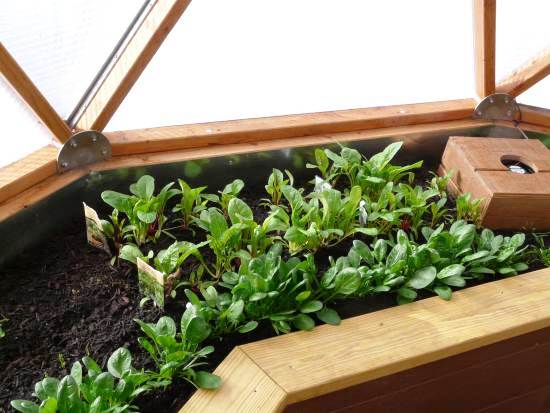
Fragment of a bed in a dome-shaped greenhouse
Placement of beds row in the Mitlider greenhouse
An interesting layout is the device of the Canadian doctor Mitlider. During the 50-year experiment, he came to the conclusion that the ideal row width is 45 cm, and the passageway is 90 cm. Only with this planting, the plants are maximally ventilated and saturated with sunlight. Location – north-south. The surface must be perfectly horizontal. Productivity is achieved through balanced fertilizers and irrigation. This excludes loosening of the soil.
For areas with poor soil (marshy, stony, etc.), the doctor recommends putting boxes with prepared soil. Box dimensions: 1.2-1.5 m wide, 40 cm high. Such devices instantly warm up, do not become infected with pests, but require enhanced watering.
What height does a warm beds rise in a greenhouse
The standard height is 20 cm. It is created using bulk earth, limiting the edges to the sides of the boards.
If you plan to grow precocious vegetables and greens immediately with the advent of spring, then the height should be raised to 80 cm to provide accelerated heating of the soil. But at this height, the earth quickly dries up, so a container of water must be placed nearby so that there is something to moisten the soil.
If an electric heating system is provided, then the layout is carried out on the basis of the wiring diagram, which comes complete with all equipment.
How to make the earth warm in the greenhouse: arrangement options
The use of warm rows extends the growing time of plants. They can be planted a few weeks earlier, because the temperature of heating the earth inside the structure will be higher due to the release of a large amount of heat from the rotting organic “pillow”. Such pillows can be made in different ways, depending on what raw materials you have.
Manure thermal cushion
The basis is horse manure. This is the hottest type during decomposition, because it warms up to 70 degrees in the first days, and then holds a 30-degree temperature for about 20 days. If there is no horse, you can replace cow, pork or sheep. To the process of decomposition in it went more intensively, add 1/3 of the straw mixed with sawdust. Before making beds, let the manure lie down so that the process of decay begins. Once the temperature inside the heap has reached 45 degrees, you can begin to form a pillow.
A 15-centimeter layer of sawdust is laid at the bottom of a future bed, on top of which a 30-centimeter layer of macerated manure is laid out, carefully compacting everything. They pour it with boiling water, let it brew for a couple of days. Then, fertile soil is poured on top: ready-made soil or a soil mixture created by one’s own hands (turf soil, peat, humus, sawdust are mixed in equal proportions).
Thermal cushion without manure
If it is not possible to purchase manure, then you can do with the raw materials that are on each site.
- The bottom layer is a finely chopped tree (branches, bark, hemp, knots, waste boards, etc.).
- On top of it is food waste, peeling potatoes, green mass from weeds (without seeds!), Tops, etc.
- 3 layer – sawdust, fallen leaves, waste paper, rags.
- Urea or diluted bird droppings are spilled from above.
- Decomposition accelerators are added (if possible).
- The “pillow” is slightly tamped, covered with a black film for warming.
- After a week, the finished “pie” is covered with a 30-centimeter layer of soil and seedlings are planted.
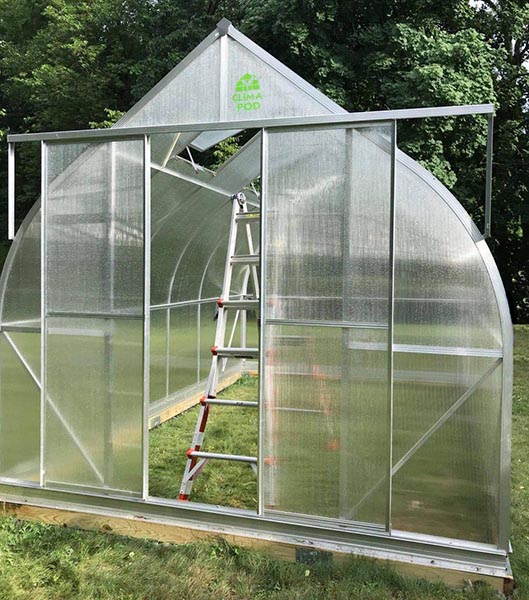
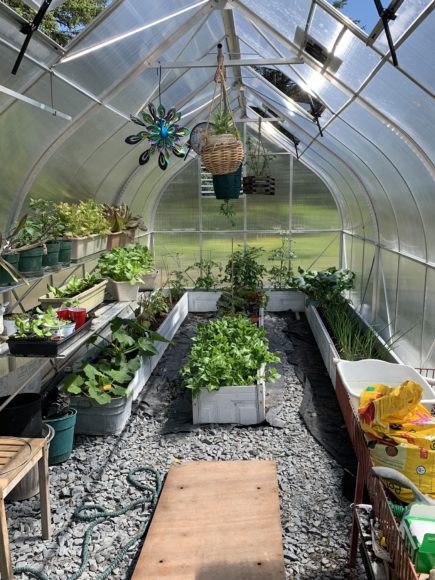
Use ClimaPod Shelving to increase the useful area of the greenhouse
Buy ClimaPod Greenhouse aluminium shelving kit here.
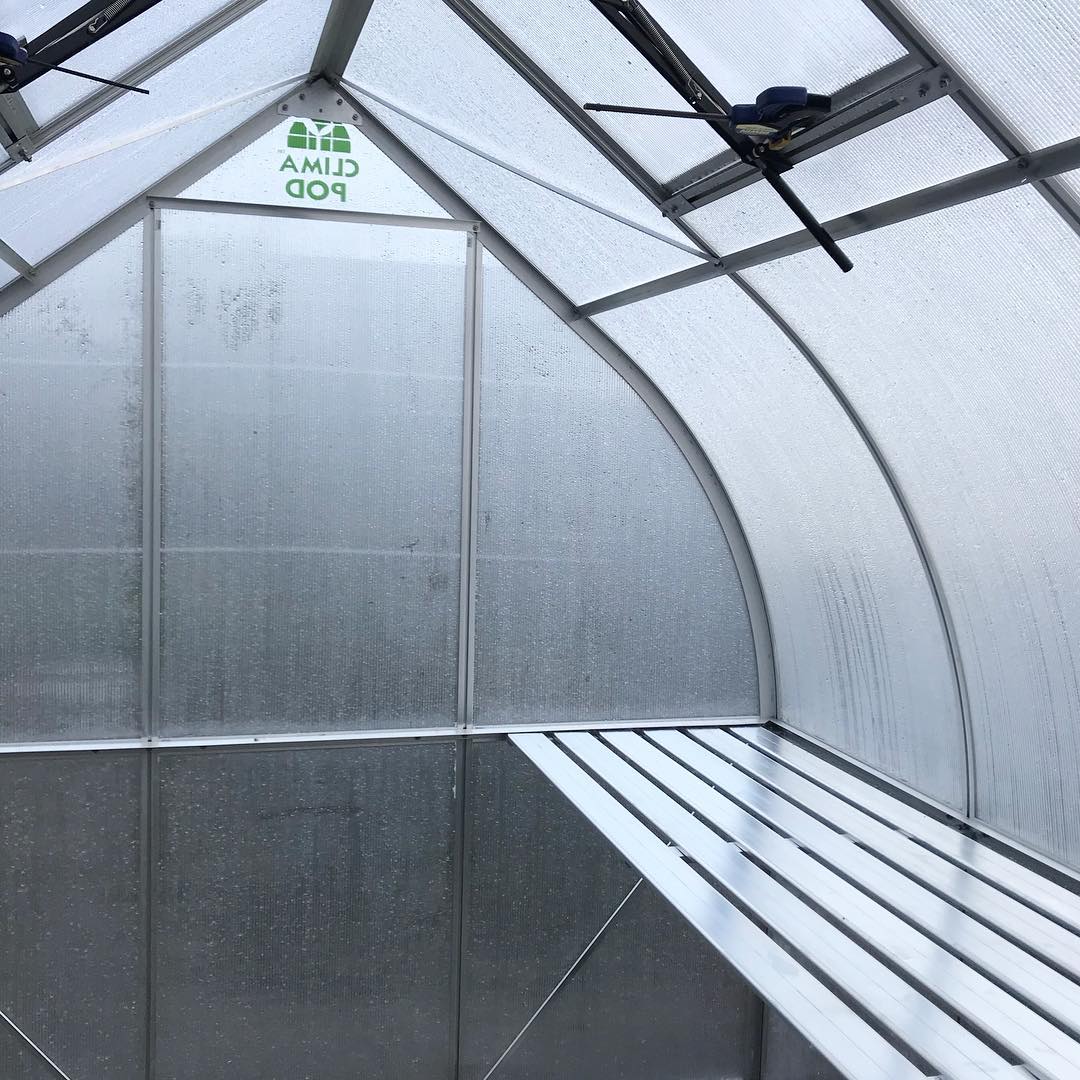 ClimaPod Spirit Greenhouse Kit Polycarbonate with shelving
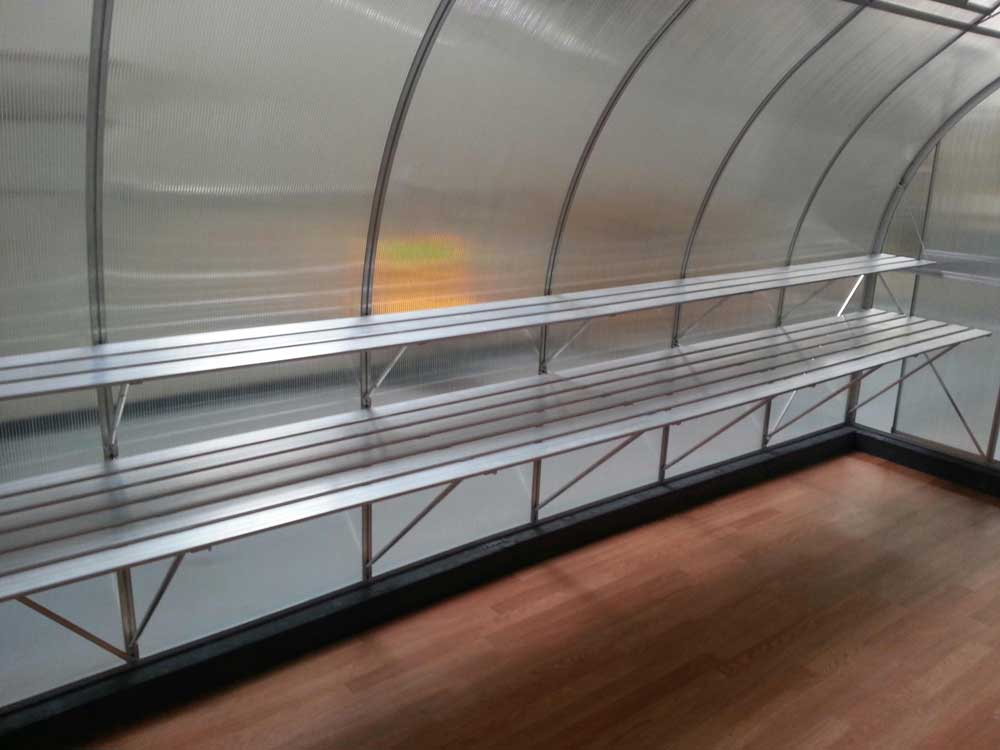 Climapod Shelving
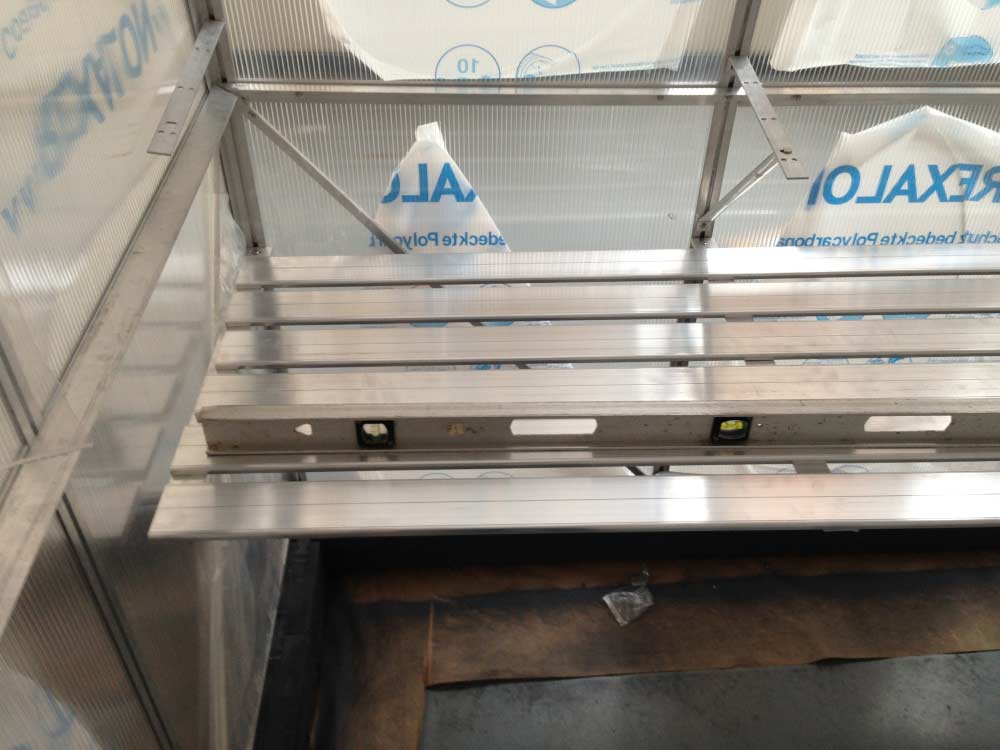 Climapod Shelving
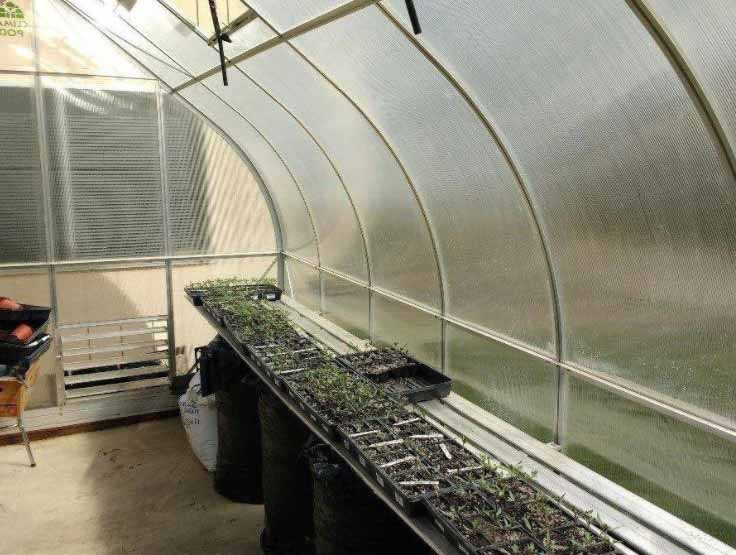 greenhouse 9×14 with shelving : ClimaPod Greenhouses Testimonials