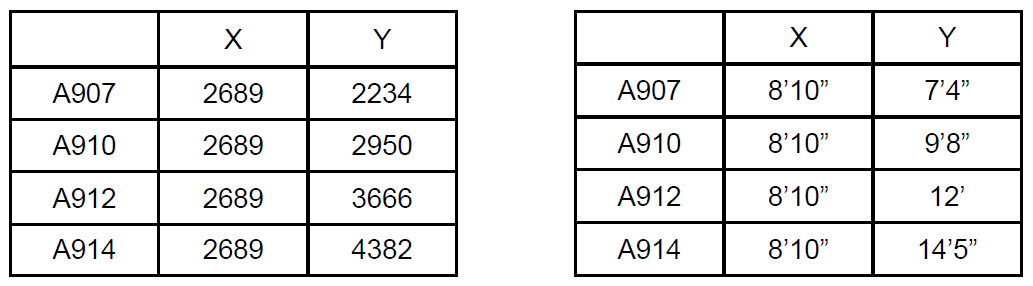
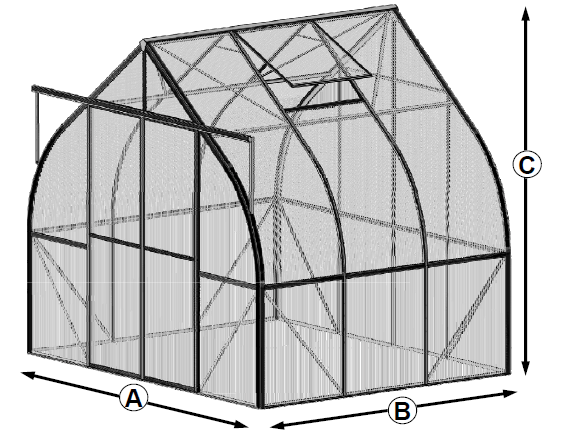
| MODEL | A (mm) | B (mm) | C (mm) |
| A907 | 2689 | 2234 | 2412 |
| A910 | 2950 | ||
| A912 | 3666 | ||
| A914 | 4382 |
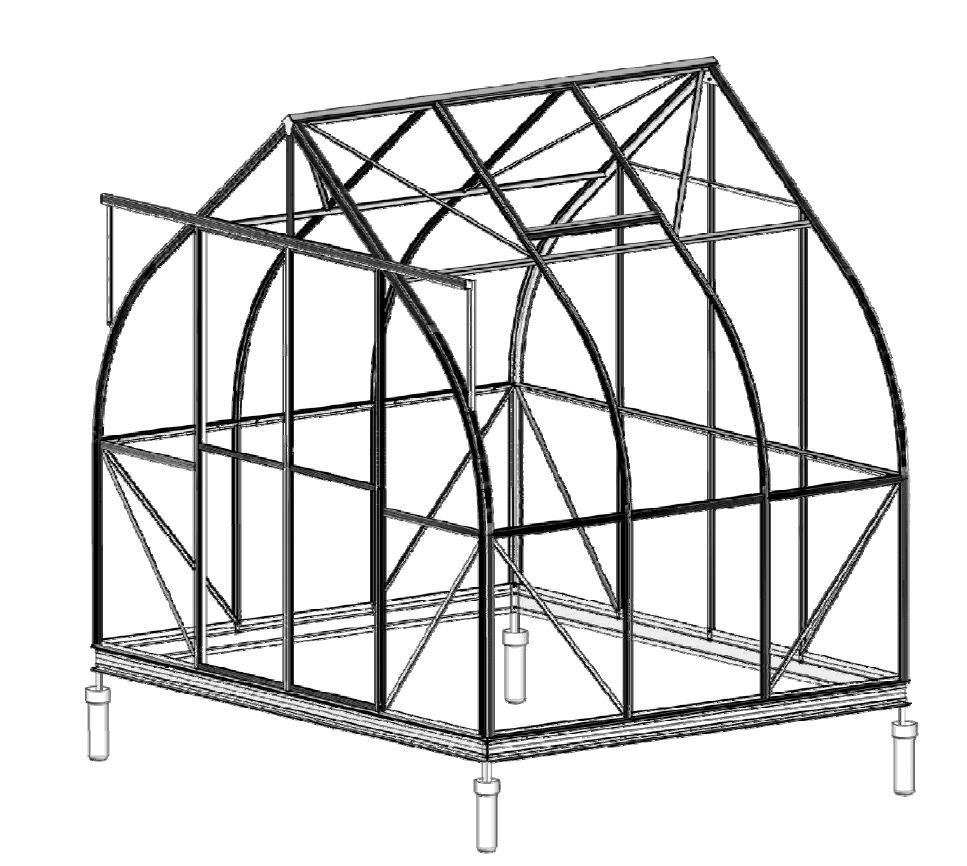
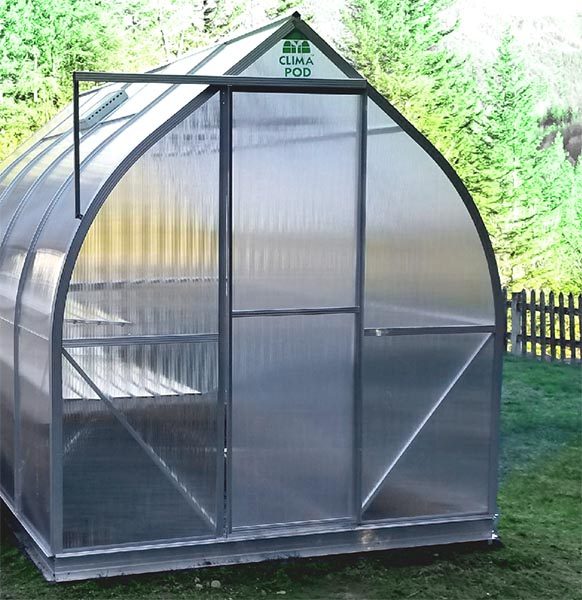
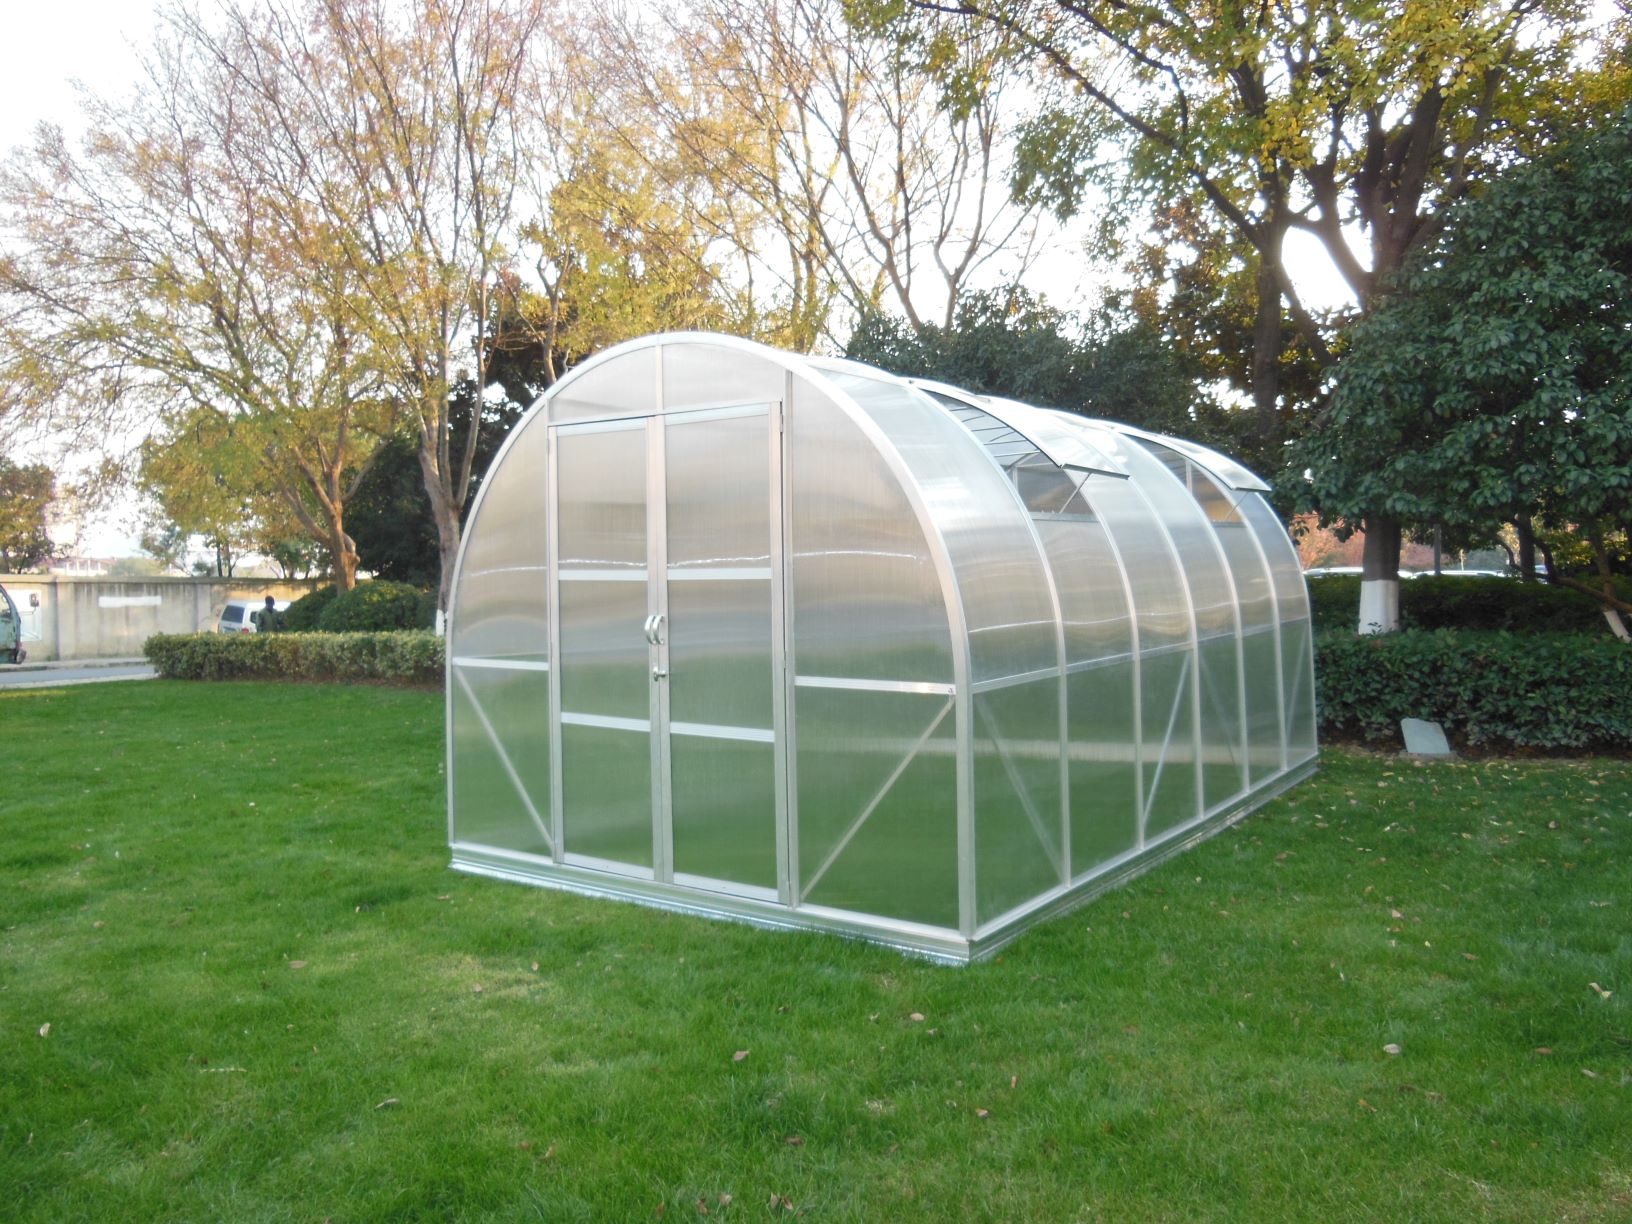
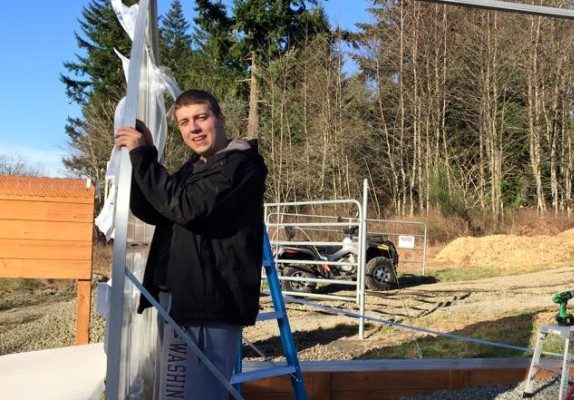
Walk-in Greenhouse
Statement
Dear Customer!
May we congratulate you on your new Greenhouse.
We feel sure that by following the detailed assembly instructions you will find as much pleasure in actually building the greenhouse as the time you will spend in your greenhouse in the future.
The assembly instructions mainly consist of detailed illustrations and no specific technical knowledge is required for the assembly of the greenhouse.
There are four packages for one set of Arched greenhouse totally.
The base is packed in one carton, no matter aluminum base or steel base.
The house frames are packed in two cartons, one for straight profiles and all of fittings, one for curved
frames.
All the polycarbonate panels are packed in one carton.
All of the aluminum profiles are marked with a part number corresponding to the numbers given on the drawings and in the parts list. Nuts, bolts and fittings will be found in the relevant package:
- All of the rear gable section straight frames are in package No.1
- All of the front gable section straight frames are in package No.2
- All of the roof/side wall section straight frames are in package No.3
- All of the frames and components for the window are in package No.4
- All of the frames and components for the door are in package No.5
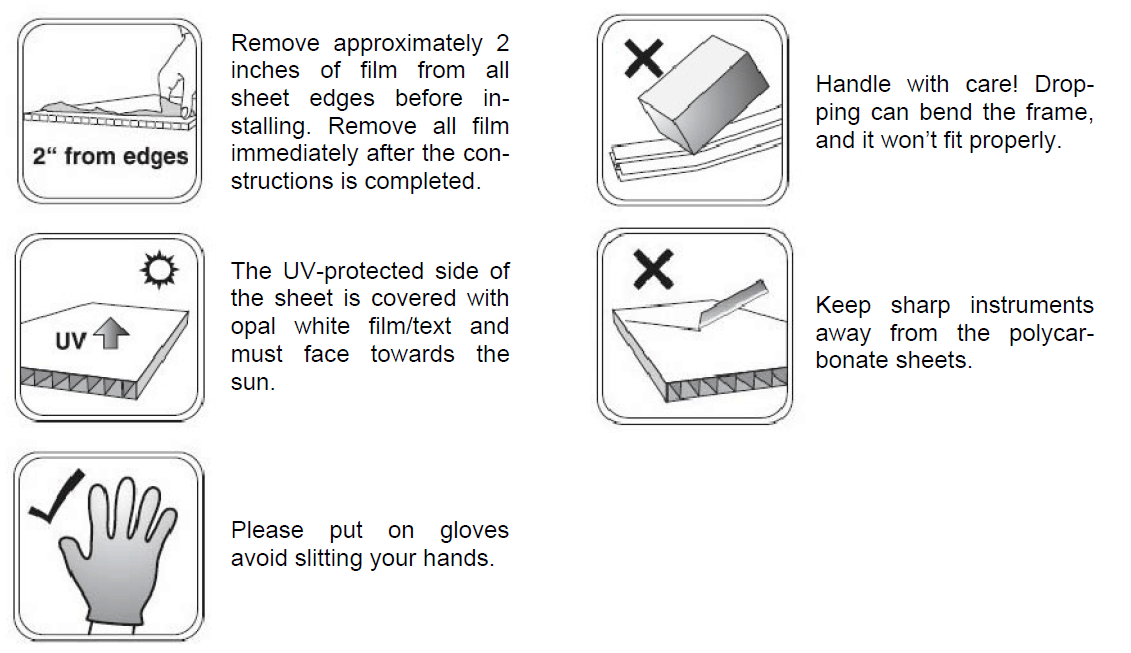
The panels of Polycarbonate are not marked with a part number, but the sizes appear in the overview. When fitting the Polycarbonate, the side with the opal film/text must turn outward.
Accessories
We offer a wide range of accessories which contribute to a better yield and make life easier for the gardener. A selection of the range is shown in the supplements to these instructions. Your dealer will be pleased to assist you with further information and a special brochure.
Winter Protection
In areas where snow might be expected we recommend the following in order to protect your greenhouse:
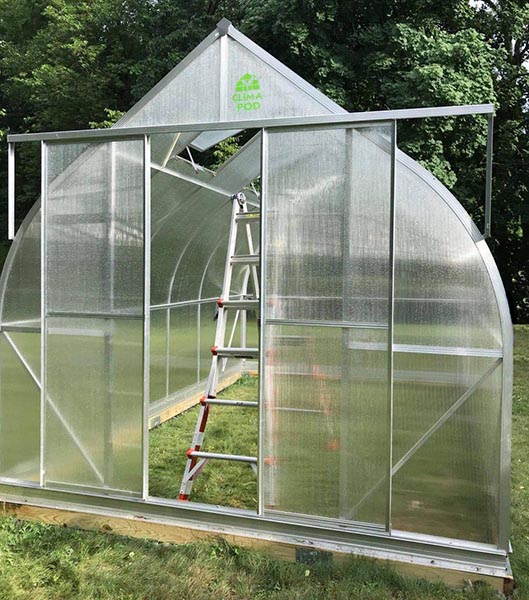
- Support the ridge at the center of the greenhouse.
- Removed larger snow loads.
- Take precautions against snow falling down, for instance from a roof.
Complaints
We put severe demands on quality to secure that you get a faultless product. However, should a problem occur, we kindly ask you to contact the dealer from whom you have bought the greenhouse. For a quick service, you should specify the extent of the defect by means of the parts list in the assembly
instructions. Please also note the model number which is marked on the front page of these instructions.
Guarantee
We grant a 10 year comprehensive guarantee which covers replacement or repairs of defective parts due to material or manufacturing defect. The guarantee does not cover polycarbonate, transport, erection. The guarantee is invalid if the greenhouse is not assembled according to these instructions.
Insurance
Not all insurance companies automatically cover greenhouses. We recommend you contact your insurance company to ensure that you are covered.
Statement
Foundation
The base is not included in this delivery. However, we do recommend you buy our origin base easy to build. The base is maintenance free and, of course all fittings are included. Remember to order concrete pipes and concrete at your local dealer as these are not included in the delivery.
Cautions
Tips
- The base has to be fastened in a non-freezing depth(80cm).
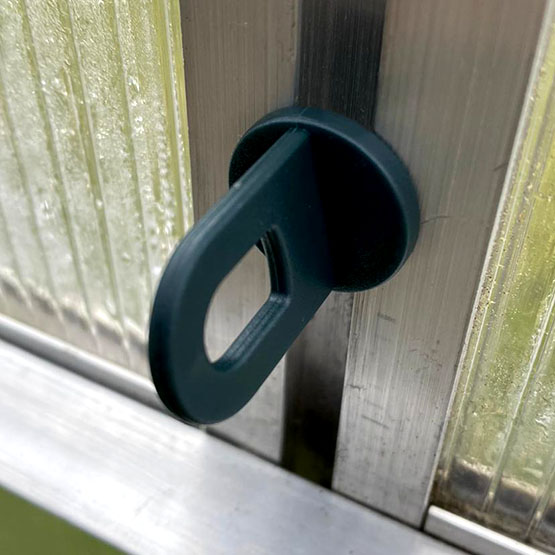
- The greenhouse is to be fastened to the base.
- The base has to be 100% level and square. The easiest way to ensure this is to make sure that the two diagonal measurements are identical.
- We recommend that you grease screws for doors and windows for easier assembly.
- Erection of the greenhouse should only take place in calm and dry weather.
- All frames are to be assembled around the polycarbonate as shown on the drawings. We recommend that you start with the back gable.
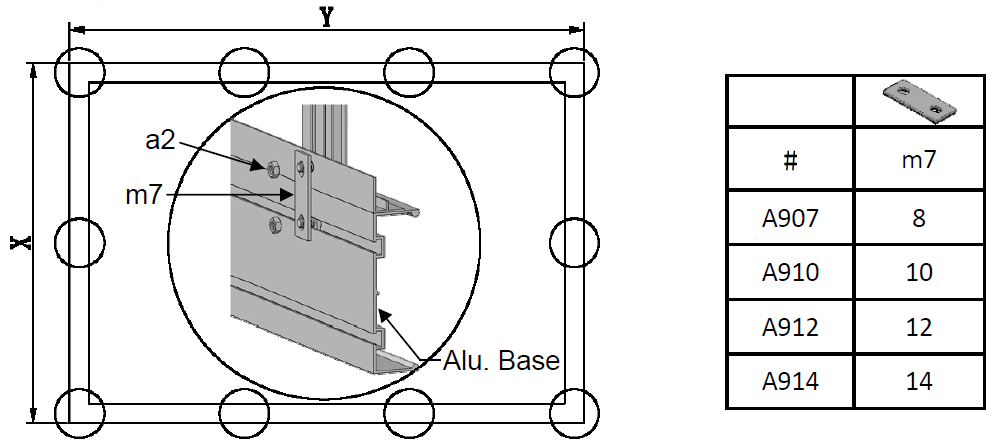
- IMPORTANT Before assembling aluminum base, the end trough centers of four legs should match both end trough centers of side sills and front & rear sills at the same time.
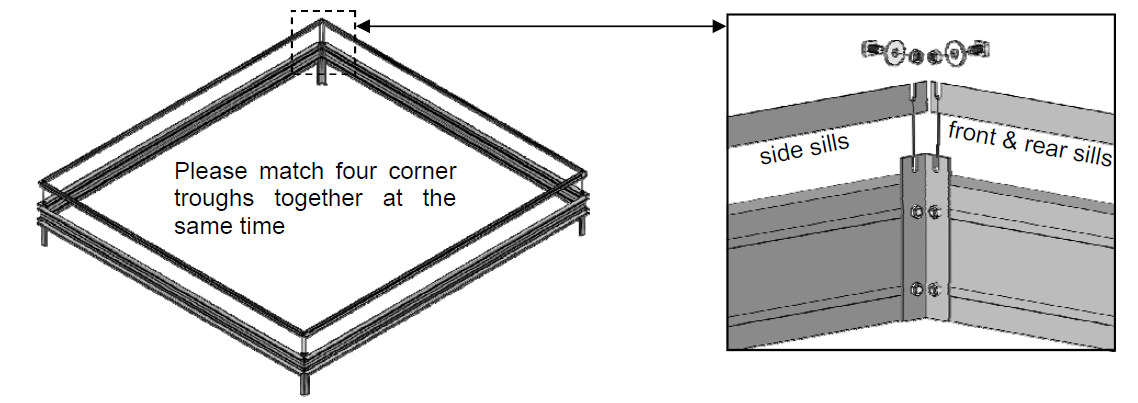
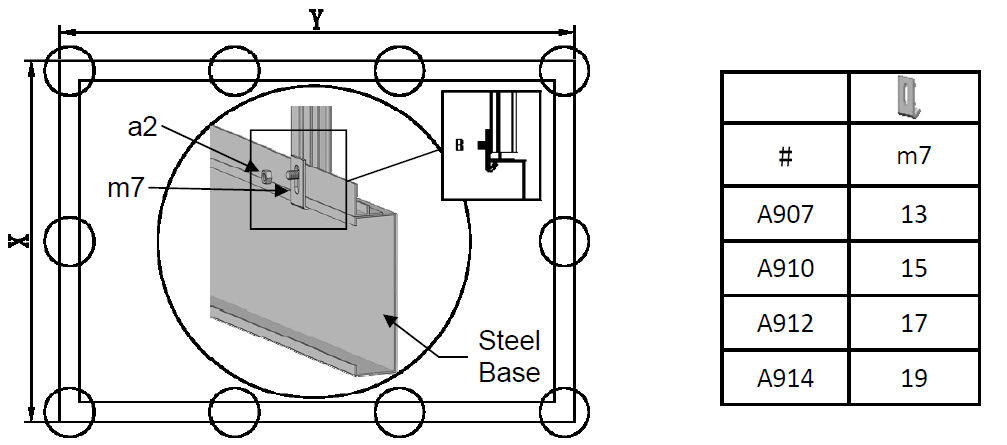
Base