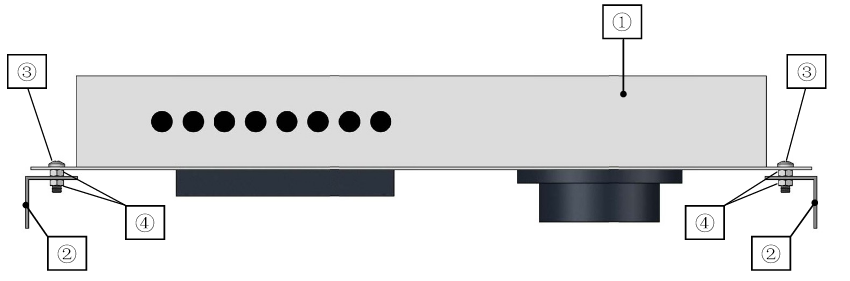
The solar thermostatic fan is suitable for automatic ventilation, air exhaust and cooling within small space. It will convert solar energy into electrical energy to meet the demand of small space’s ventilation, air exhaust and cooling through setting up a working temperature by thermostat switch. Its key value is that it can be used for 5-10 years, or even longer by your one-time investment and little maintenance, you will never need to pay for the electric bill and worry about opening or switching off the ventilator.
The solar thermostatic ventilator need to be assembled at the place where have enough sun. it is suitable for small space around 5-7 m? and several sets can be used together to have a better ventilation and air exhaust. Besides being used in greenhouse, it can also be used in machine room, mobile toilet, poor ventilated and hot small room, as long as there is direct sunlight.
High reliability, stable performance, long life, easy assembly, automatic and easy operation are the main features of the solar thermostatic ventilator.
Contents
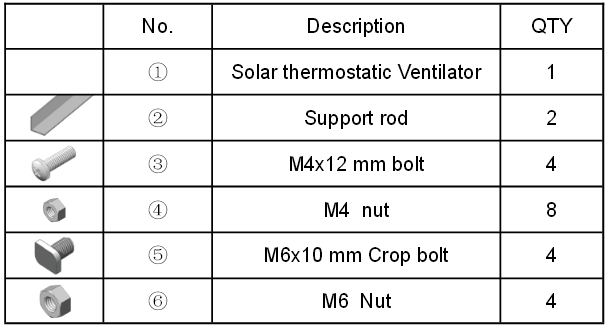
Solar Thermostatic Fan Installation
- Choose the place to install the Solar thermostatic ventilator where is direct sunlight, try to keep the solar photovoltaic cell panel perpendicular to sunlight to receive the best light. There can’t be any shading on the solar photovoltaic cell panel surface, and it can’t be installed at low and concave place to avoid the rain water running into the ventilator through the air-bleed hole.
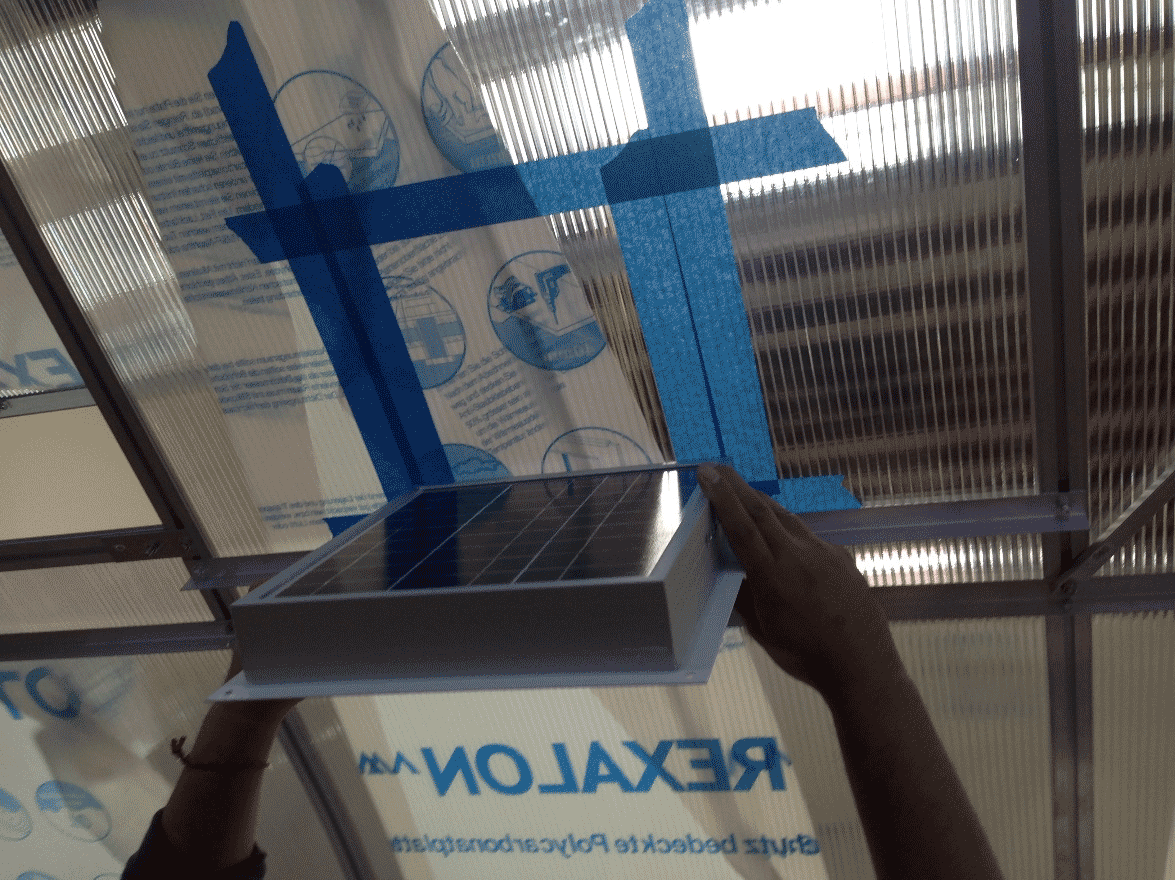
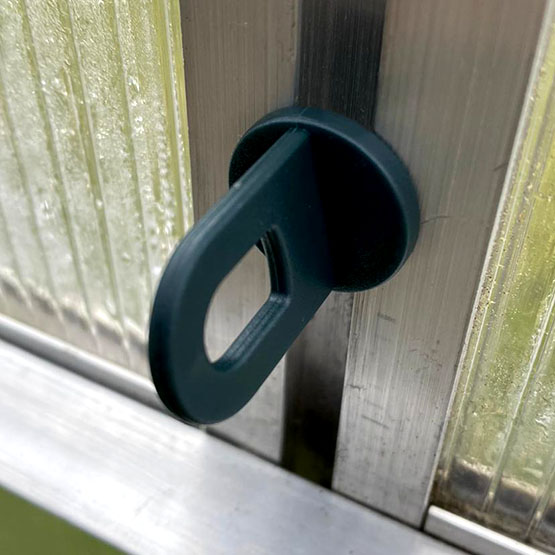
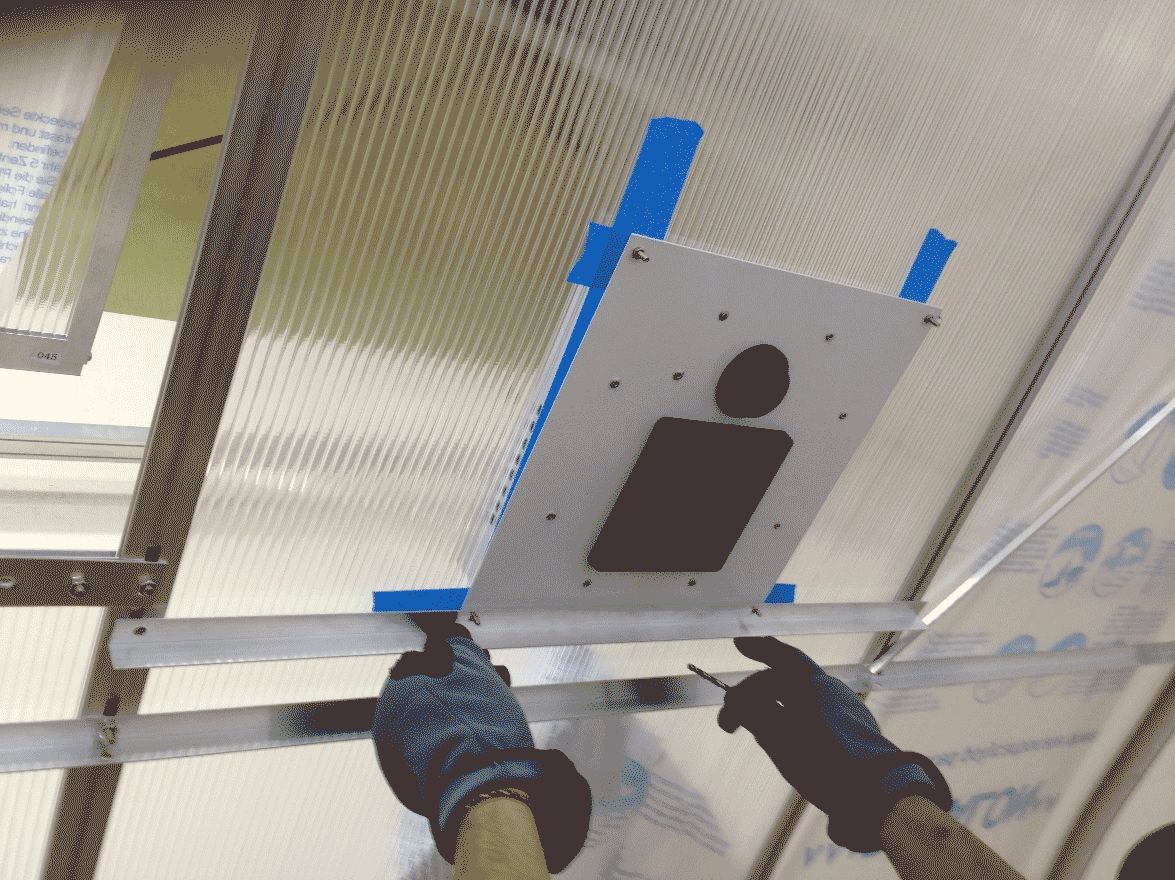
- Measure and cut out section with size of 267*267mm for Solar Themostatic ventilator. It is recommended using a Utility Knife to cut through the polycarbonate. Once the piece is cut insert one end of the Ventilator into the open space, support the other side of the polycarbonate with your hand, and push the other side of the ventilator through for a secure fit.
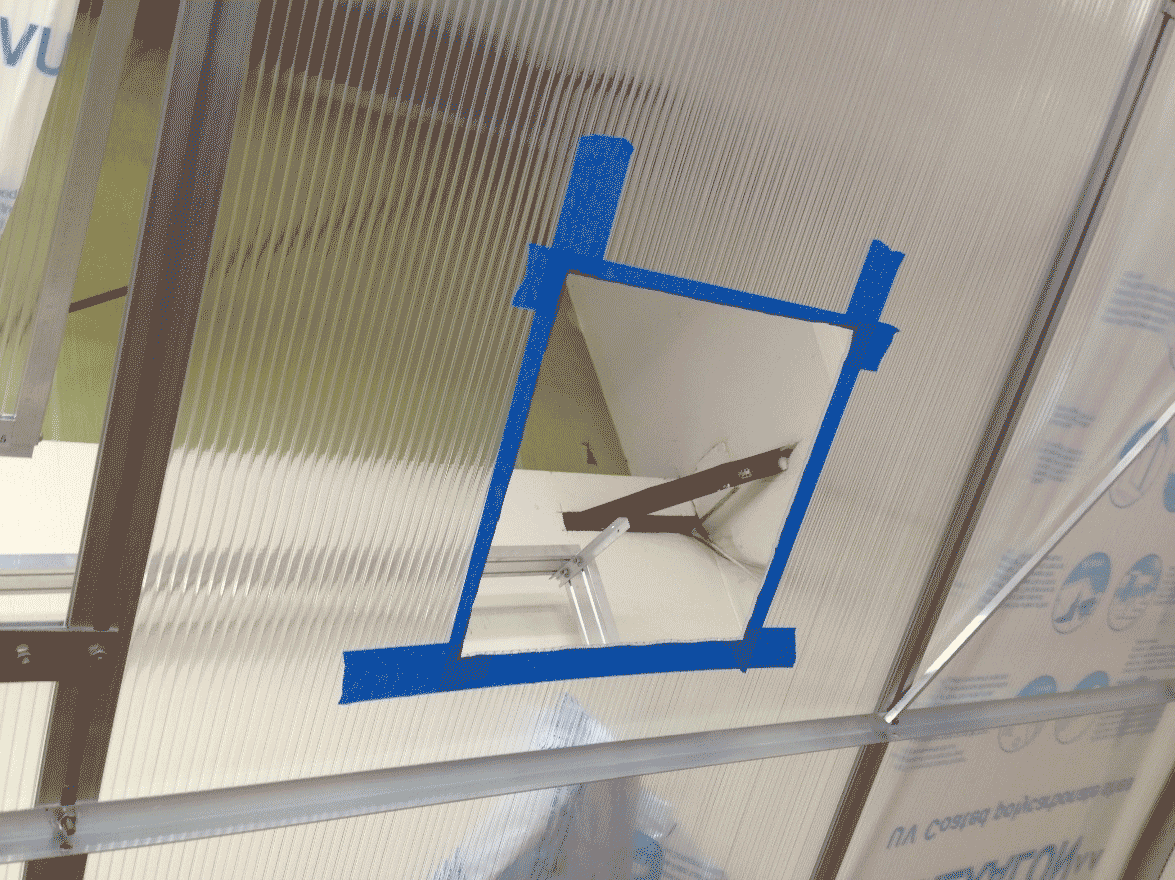
- Drill holes at the end of rods based on span size.
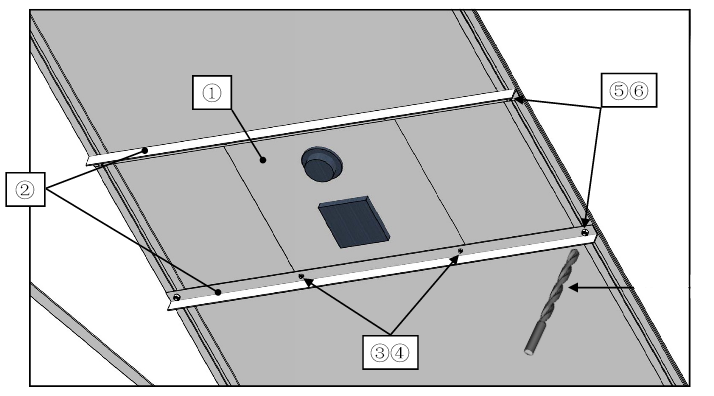
- Once ventilator is securely in place, add the support beam making sure bolt holes align with the ventilator holes. If not drill addition holes into support beam. (If necessary, do this for both the top and bottom support beams.) Finally bolt both ends of the support beams into the aluminum profile of the greenhouse.
- When the sun blaze down on the solar photovoltaic cell panel, if you set the temperature lower than the surrounding, then the ventilator will work automatically; if you set the temperature higher than the surrounding, then the ventilator will stop working automatically. You can set the temperature to ventilate according to your own situation. If there is no sunlight on the solar photovoltaic cell panel, the ventilator will also stop working, like when evening or the surface is covered by light-proof objects, etc.

Maintenance
- Clean the surface of the solar photovoltaic cell panel regularly to get better ventilation, air exhaust effect.
- Add lubricating oil at pivot of the ventilator regularly.
- Wash anti-dust net regularly. If you don’t need ventilation at all, you can cover the anti-dust net with a windproof product to stop the ventilation with outside, like plastic panel, etc.
Important warnings
- Don’t impact or compress with heavy or sharp objects
- Don’t throw objects into the ventilator, like thread and dust, etc.
- Keep it far away from high temperature and fire.
- Don’t throw.
- Keep it far away from Corrosive, inflammable and explosive goods.
Solar Fan common problems and solutions
| № | Problem phenomenon | Reason | Method |
| 1 | Slow fan speed | The solar photovoltaic cell panel surface is covered by lightproof objects | Remove the cover or clean its surface |
| Sunlight isn’t enough | Place it under enough sunlight | ||
| Fan inner problem | Replace the fan | ||
| 2 | Fan stop working | No sunlight on the solar photovoltaic cell panel | Place it under enough sunlight |
| Fan inner problem | Replace the fan | ||
| Ventilator inner problem | Check whether the wiring scheme is reliable | ||
| 3 | Thermostat loose control | Thermostat switch damaged | Replace Thermostat switch |
| Tolerance in temperature control | Adjust temperature at Thermostat accordingly |