Imagine a garden where you can grow an abundance of fresh vegetables and herbs year-round, even in unpredictable climates. The secret? Multiple greenhouses! While a single greenhouse can be a wonderful asset to any property, incorporating two or more allows you to expand your growing capacity and create a truly bountiful garden.
But how do you plan the placement of multiple greenhouses on your plot? What factors should you consider to maximize their effectiveness and create a harmonious and functional design? This article will provide you with the practical advice and inspiration you need to transform your garden into a thriving green oasis.
Let’s dive into the exciting world of multi-greenhouse gardening!
Why it’s good to have multiple greenhouses in your garden
You need two greenhouses to separate different crops and create suitable conditions for their growth and development. For example, tomatoes like dry air, rare and abundant watering, while cucumbers do the opposite. And the soil needs to rest from the same plants from time to time, so crops are regularly swapped. Another argument in favor of a second greenhouse: it is much easier to carry out quarantine or medical and preventive work in different structures.
You can buy an additional greenhouse for other purposes as well. In the new greenhouse, you can plant new varieties of your favorite plants or try growing exotic plants.
General requirements for a location for a polycarbonate greenhouse
If you are the happy owner of large plots of land, you can afford to install not one, but two or more separate greenhouses. You can place your greenhouses next to each other or separately. It depends on your goals. For gardeners with small plots, buying a greenhouse is easier than finding a suitable place for it.
General requirements for a greenhouse plot:
- You should install the frame at a distance of minimum 3-5 feet from the fence, house, trees, barns and other buildings. If you do not follow this rule, the snow accumulated on the buildings or trees can fall and damage the greenhouse.
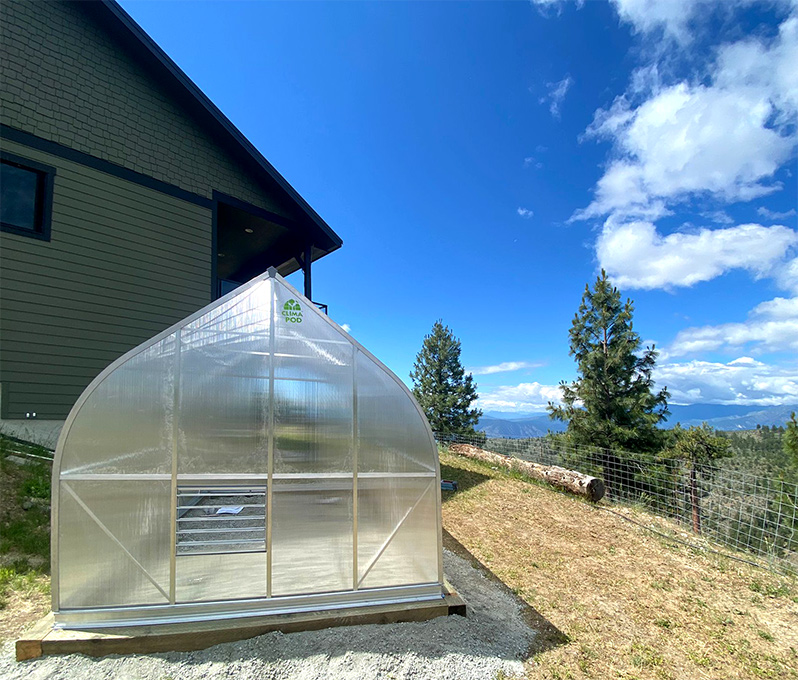
- The plot for the greenhouse should be sunny. If you want to plant seedlings as early as possible, then this place should be the first on the plot where the snow melts. If this is not possible, then you need to choose a place where the sun shines in the first half of the day.
- If the water level on the site is high, a higher part of the relief is chosen for the greenhouse so that the roots of the plants do not rot due to excess moisture.
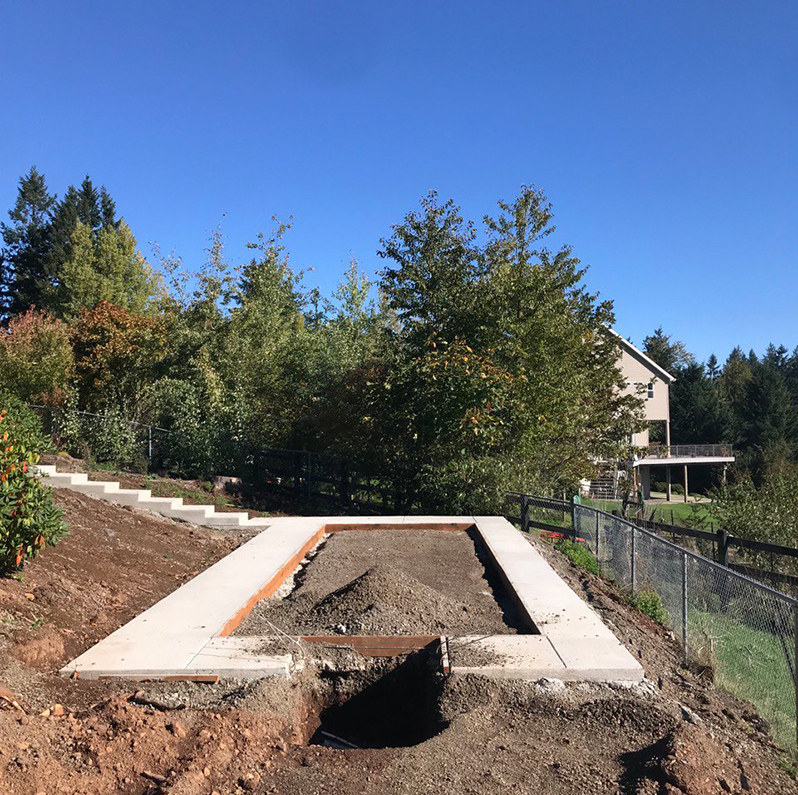
- After you have chosen a place, you need to prepare a site for installing the frame. Its area should be larger than the size of the greenhouse. You should clear the site of debris. It is advisable to put a polycarbonate greenhouse not on peat or a swamp, but on solid ground. Orient your greenhouse from east to west.
✎ Please note! It is better for your plants if the greatest amount of light enters the greenhouse in the first half of the day. To do this, the greenhouse should be oriented to the east or southeast.
Visually, the site should be level – without slopes and holes. The frame cannot be installed evenly when there is a slope – the structure will be skewed. This will lead to uneven distribution of the load on the greenhouse, and the calculations for wind and snow loads made by the manufacturer will be invalid.
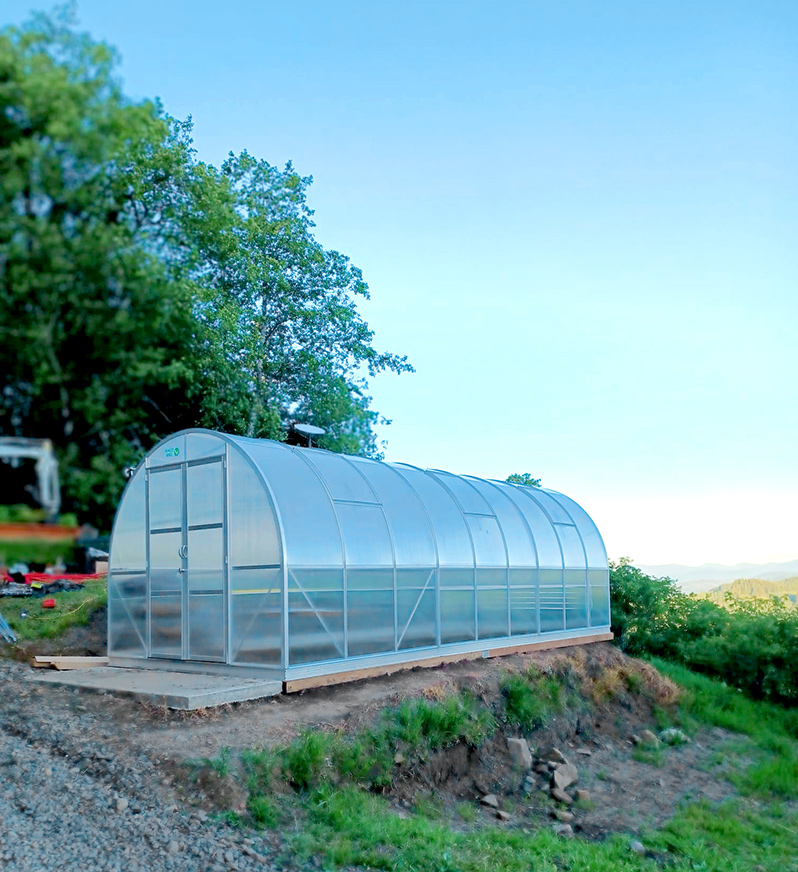
If you have a flat area, you can do without a foundation and secure the greenhouse in the ground using special T-shaped ends of the frame. You should think about the foundation if your site for the greenhouse has a slope. But we recommend always installing the greenhouse on a foundation. It will cost more, but you will be sure that the structure will not warp or be blown away by a strong wind. There are several options for the foundation. It can be made of timber, blocks or a poured strip. The best option is a poured foundation. Unlike timber, it does not rot and holds the frame better. If you order a ready-made option, then before making the foundation, check the required dimensions with the seller. You can easily find the dimensions of our greenhouses on the product pages in the description.
The volume of the harvest and the stability of the structure depend on the choice of location for a polycarbonate greenhouse. Finding a good site for a second frame is more difficult, because you will have to take into account the existing greenhouse. A rational solution would be to install the frames next to each other. This will save space and make it easier to care for the plants. The final arrangement relative to each other depends on the size of the site, the shape of the greenhouses and existing buildings, trees and shrubs.
How to install two greenhouses next to each other
There are several options for the location of the second greenhouse:
- parallel to the one installed;
- in a checkerboard pattern;
- in the shape of the letter T;
- one after another.
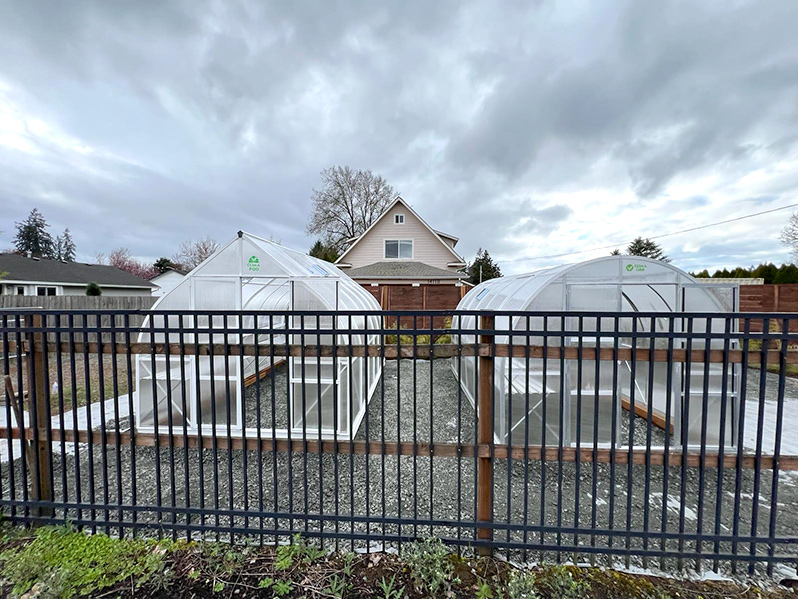
Parallel placement of two greenhouses
The greenhouses are placed parallel at some distance from each other. If the first frame is correctly positioned relative to the cardinal directions, then the second one can simply be placed next to each other. The main question that a gardener faces is what distance to make between the greenhouses?
The minimum passage is 3-4 feet. This will give you the opportunity to freely walk between the greenhouses, remove debris and clear away snow. The optimal width of the passage is considered to be 6-8 feet. This will be enough for cleaning and for placing a small bed.
The width of the passage between greenhouses is affected by:
- The length of the shadow of an already installed greenhouse. If you place the frames close to each other, one greenhouse will shade the other. If you need the narrowest possible passage, then watch the sun’s movement during the day and take measurements.
- Snow load on the frame. Reinforced greenhouses do not require maintenance in winter. The structure withstands the load well, and excess snow slides down. If the passage is narrow, it will quickly fill with snow and begin to accumulate on the greenhouses, which can cause them to collapse. If the gardener looks after the site in winter and regularly cleans the frames himself, he will need space to work.
- Amount of precipitation in summer. Water after rain should not accumulate in the passage.
- Passage functions. The distance between the greenhouses can be used for a small bed. A small passage is a waste of space. It is inconvenient to dig here or you cannot plant anything. If you leave space, you can use it. You can make a small bed and a path between the greenhouses.
✎ Please note! Even if your plot is small, you should not skimp on the width of the passage. Due to poor lighting, this can lead not only to a decrease in the harvest, but also to the death of plants, and in winter, a large amount of snow will damage the frame or polycarbonate.
Arrangement of greenhouses in a checkerboard pattern
Greenhouses are placed parallel to each other, but not in one line. This way, the structures shade each other less. You can make the passage narrower, and you can remove snow or debris between the greenhouses from accessible sides.
Letter T
The end of the new frame is located near one of the walls of the already installed greenhouse. This is convenient if you plan to place several structures at once.
✎ Please note! When placing a greenhouse, make sure that the doors open freely and you can walk through with a wheelbarrow or basket.
One after another
You can install greenhouses one after another if the size of the site allows. This way they shade each other less and the problem with snow load is solved. To make it easier to care for the plants, the entrances of the greenhouses are made opposite each other. The ideal distance between the entrances is 7 feet. This is enough to freely open the door, walk through with a wheelbarrow or basket with the harvest.
An alternative option for a second greenhouse is an internal partition
An internal partition is an additional metal end with cellular polycarbonate inside the greenhouse. With its help, the structure is divided in half or into convenient parts, one of which can be used as a vestibule. You can make the partition solid or install a door. Isolating plants from each other will help you maintain the desired temperature and humidity level. The greenhouse can be extended in length using additional inserts.
Greenhouse Extension Kit 7’x7′, 9’x7′ for ClimaPod and ClimaOrb series
Conclusions
Before purchasing an additional polycarbonate greenhouse, you need to re-evaluate the garden plot and find a suitable place for it. Do not save space and place the frames close to each other. The falling shadow will not allow your plantings to fully develop. Instead of a rich harvest, you can get stunted, diseased plants. Snow accumulated on the roof of the greenhouse in winter will threaten the collapse of the structure. To save space, the frames should be installed in a checkerboard pattern.