Anyone who is determined to assemble a greenhouse by yourself, you will need a screwdriver and a wrench. If you bought a ready-made greenhouse, then the set must necessarily contain all the necessary fasteners and an assemble diagram. If you are able to weld all the elements of the frame with your own hands, then you have already made a drawing, calculated and bought the elements necessary for installation.
Universal Instruction for Polycarbonate Greenhouse Assemble
Correctly begin assembling the frame from the ends. Door and window frames, reinforcing strips, are attached to the end arcs. Then fasten the parts of the lower harness and attach T-shaped legs to it. The harness with the supports is installed in the trench, and the harness should be 10 cm above the ground. Now you need to check the horizontal installation, adjust if necessary and proceed to further assembly.
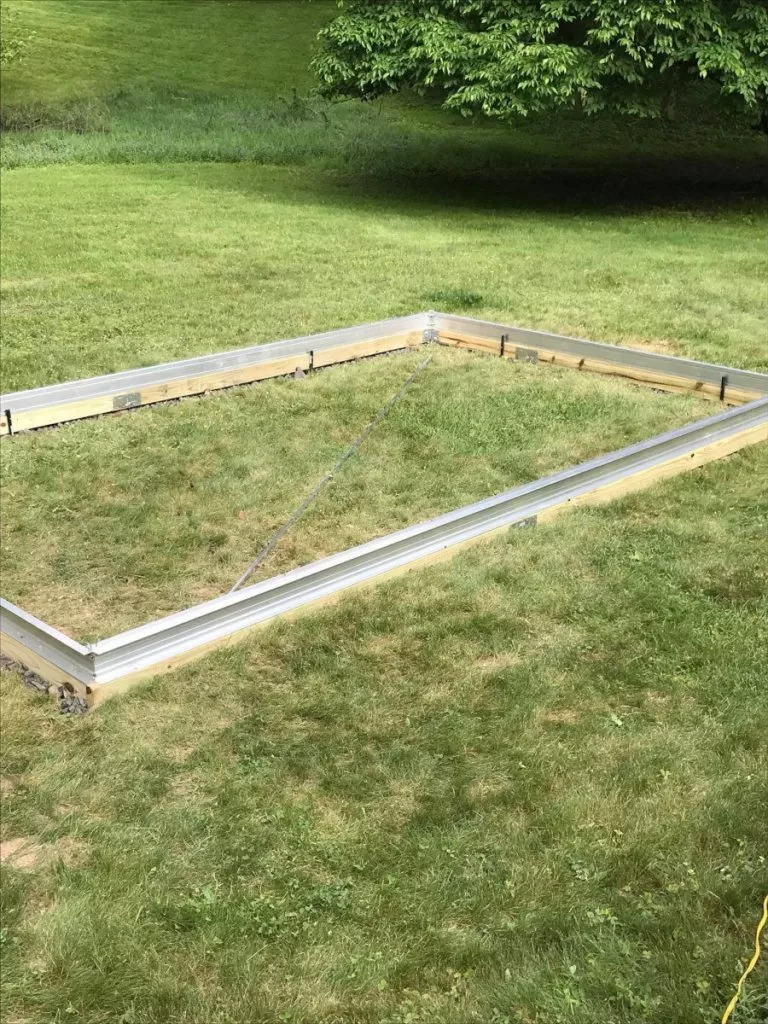
If the greenhouse is mounted on a beam, then the profiles of the frame must be attached to the beam with steel corners. And lay the roofing material not just from the side, but also under the beam itself. This will provide waterproofing. In addition, all structural elements that will be placed in the ground must be treated with bitumen – this will protect them from corrosion and pests.
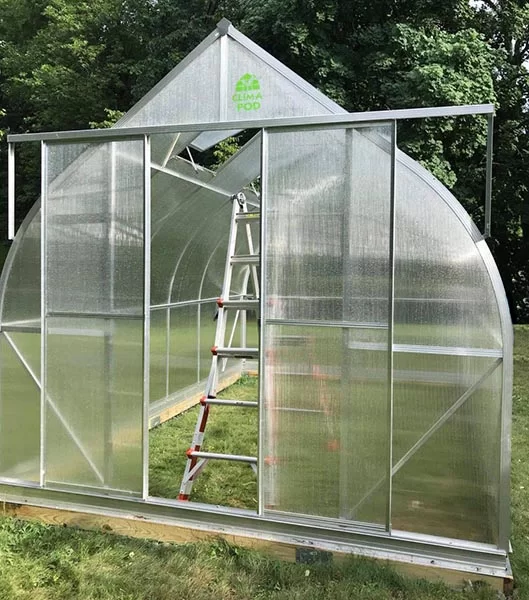
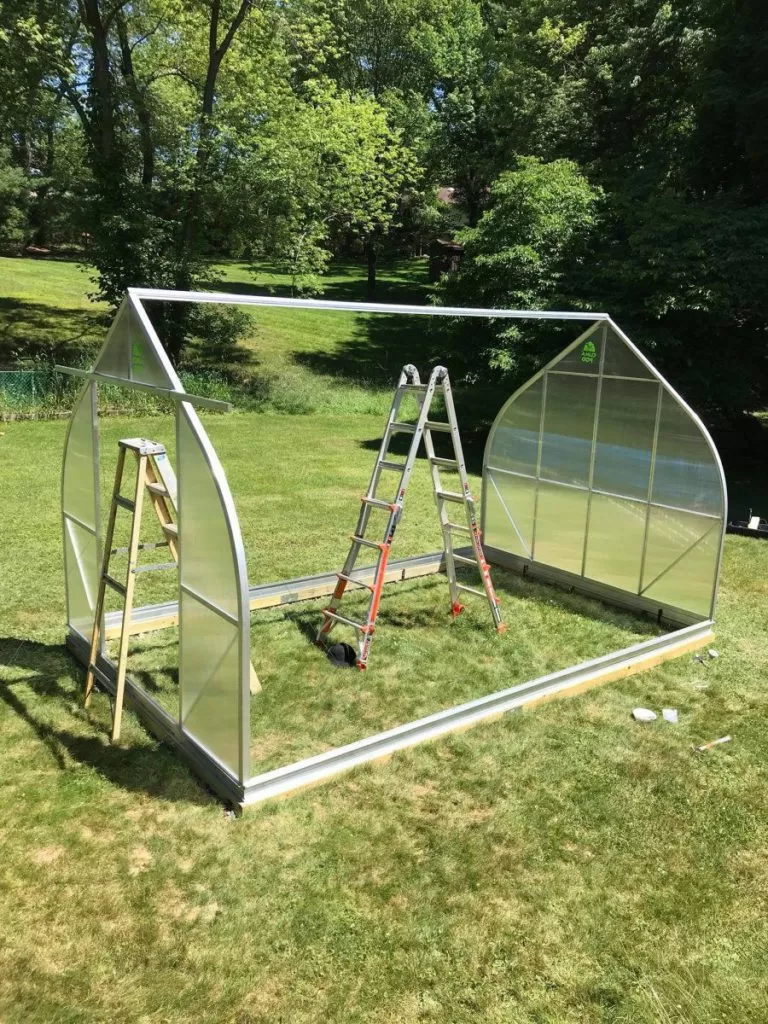
Then the remaining arcs of the frame are attached to the strapping, and polycarbonate is installed on top. It is necessary to carefully consider and attach it so that the light-protective film is on the outside, it will need to be removed before installation or immediately after it. Otherwise, ultraviolet will enhance the effect of glue. The installation of polycarbonate also starts from the ends (before that you need to remove the door and window frames). It is more convenient to attach the whole rectangular sheet without cutting out the shape, but cut out the hinge already attached, bypass the outline of the frame on the outside and cut openings for doors and window leaves in the same way. The removed frames must be closed and fixed in place with polycarbonate.
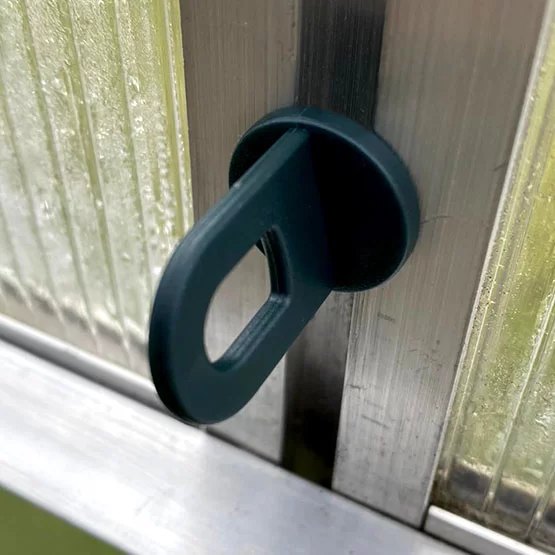
 When installing polycarbonate on the rest of the frame, the sheets must be laid across and without overlap. Make joints with a special connecting profile. Usually it is attached to each arc in several places, but can be done differently. Overlap the entire greenhouse with long narrow strips of aluminum and tighten them with a screw with the desired density.
It remains only to lay along the perimeter of the earth 5 cm above the base, this will also be a barrier to the movement of insects. But for a greenhouse without a foundation, you can make an additional strapping of timber. The timber processed by drying oil or bitumen will become an excellent barrier to pests. In addition, a greenhouse laden with timber does not exactly suffer from gusts of wind. The greenhouse, which remains assembled for the winter, will have to be cleaned of snow, otherwise the polycarbonate may crack. And it is advisable to leave the doors open and let the ground freeze.
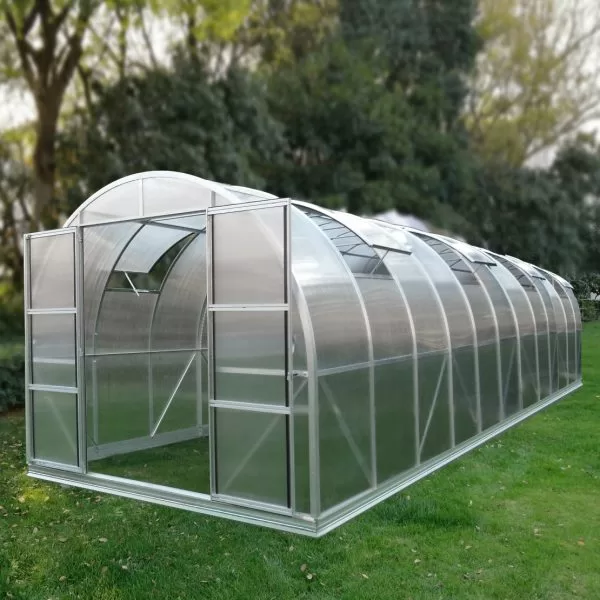
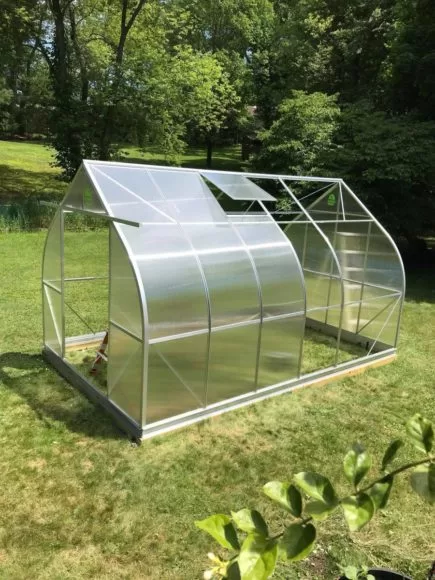
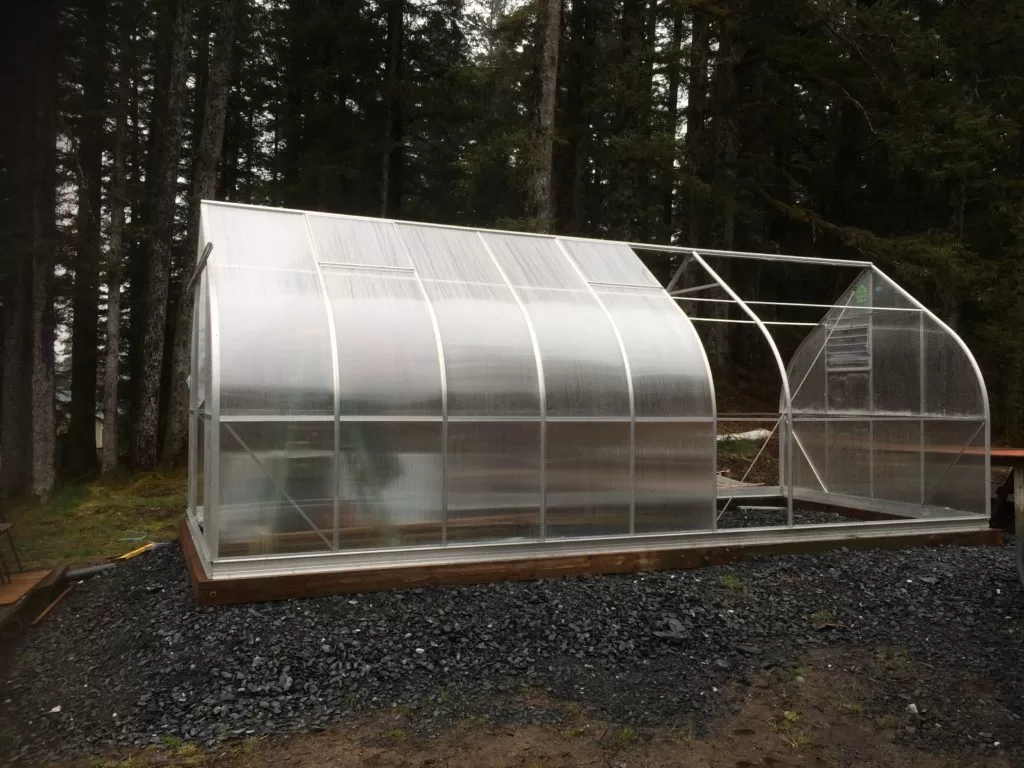 Polycarbonate is the only suitable material for building a greenhouse without a foundation. The design is very strong and stable.